How to Scan Documents and Make Them Searchable: The 2026 Guide
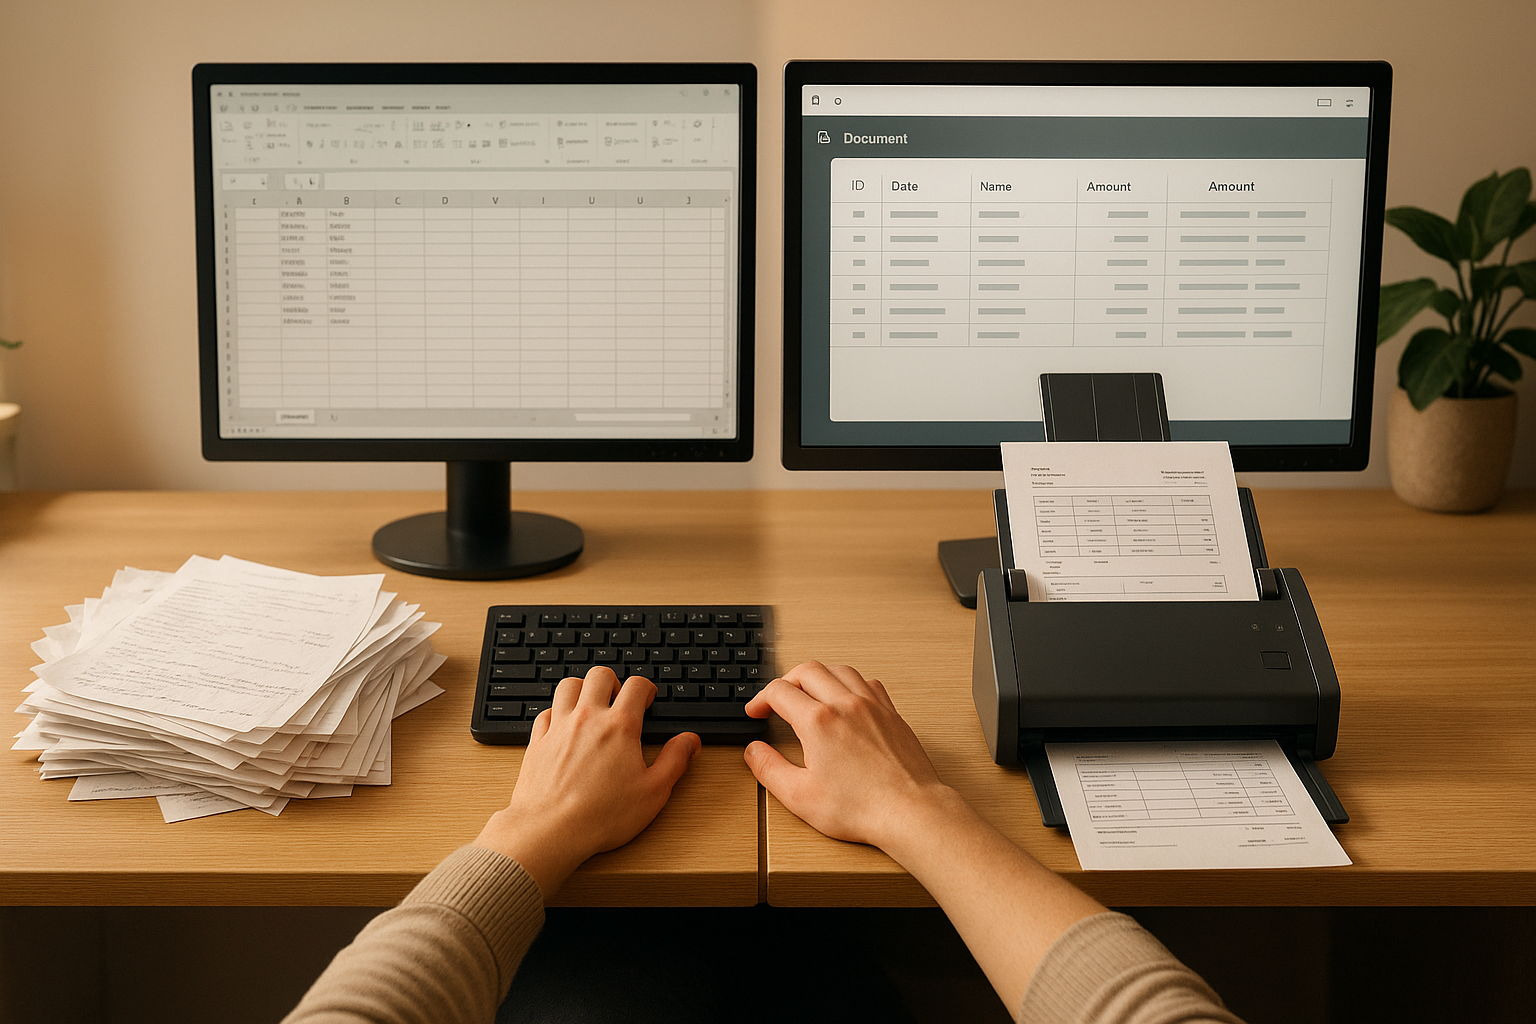
You finally scanned that stack of paper. The PDFs are sitting in a folder. And now you need the electricity contract from 2023, so you open one file after another, squinting at thumbnails, because the search box returns nothing. The documents are digital, but they might as well still be in the drawer.
Scanning is only half the job. A scan is a photo of a page. Your computer sees a picture, not words, so it cannot search inside it. The missing half is OCR (optical character recognition), the step that reads the text off the image and makes the file findable.
This guide walks you through both halves: how to scan documents well, and how to make them genuinely searchable, so that three months from now you type "Stromvertrag" and the right file appears in a second.
The short version: from paper to searchable PDF in five steps
If you just want to get going, here is the whole flow:
- Pick your tool (2 min): your phone for single documents, a flatbed or sheet-fed scanner for stacks. Both work, the phone is closer than you think.
- Capture cleanly (5 min per batch): flat page, even light, no shadow from your own hand, fill the frame. Legibility beats resolution.
- Save as PDF, not JPG (1 min): one PDF per document, multi-page where it belongs together. PDF is what tax software and archives expect.
- Run OCR (automatic): this is the step that adds the invisible text layer. Without it the file is not searchable.
- Name and file it so you find it again (2 min): a consistent filename plus full-text search means you never hunt through folders.
Each step has a deeper section below. If you already scan and only the searching is broken, skip to the OCR section, that is almost always the missing piece.
Step 1: Phone or scanner? Pick the one you will actually use
The best scanner is the one within reach. For most people that is the phone.
Your phone (for single documents and receipts)
Modern phone cameras are more than good enough for documents. A scanner app crops the page, flattens the perspective, boosts contrast, and exports a clean PDF. Use it for the things that arrive one at a time: a receipt, a letter, a contract you just signed. The whole capture takes ten seconds and the document is filed before you have walked back to your desk.
A flatbed or sheet-fed scanner (for stacks and backlogs)
If you are digitizing a years-old pile, a sheet-fed scanner that pulls in twenty pages at once will save your wrists. Flatbeds are slower but handle fragile or bound originals. This is a one-time investment for a one-time backlog, after that the phone covers the daily trickle.
You do not need both on day one. Start with the phone, add a scanner only if a genuine backlog justifies it.
Step 2: Capture so the text survives
OCR can only read what the camera caught. A blurry or shadowed scan produces garbled text and broken search, so the capture matters more than any setting later.
- Light it evenly. Daylight near a window beats a single lamp that throws a hard shadow. Avoid your own shadow falling across the page.
- Lay the page flat. Curled receipts and folded letters confuse the perspective correction. Press creases out first.
- Fill the frame. Get the page edges close to the frame edges. More page means more pixels per character, which means cleaner text recognition.
- Hold steady. Wait for focus before you tap. One sharp shot beats three rushed ones.
You do not need 600 dpi. For everyday documents, 300 dpi or a decent phone photo in good light is plenty. Chasing maximum resolution just bloats the file.
Step 3: Save as PDF, one document per file
Export to PDF, not JPG. A PDF holds multiple pages in one file, carries the searchable text layer, and is the format every tax tool, bank portal, and archive expects. A folder of loose JPGs is a folder you will be reassembling at the worst possible moment.
One document equals one PDF. A three-page contract is one file with three pages, not three files. A single receipt is one file. This sounds obvious, but it is the rule that keeps a year of documents navigable instead of a heap of fragments.
Step 4: OCR, the step that makes it searchable
This is the half almost everyone skips, and it is the half that decides whether your archive is useful.
A raw scan is an image. OCR runs over that image, recognizes the letters and numbers, and adds an invisible text layer underneath the picture. The page looks identical, but now your computer can read it: you can select text, copy an amount, and crucially, search inside the document and across your whole archive.
The difference in daily life is stark. Without OCR, finding the 2023 electricity contract means opening files one by one. With OCR, you type "Stromvertrag" and it surfaces in a second, even though that word is nowhere in the filename. For a deeper comparison of where automatic text recognition beats typing things in by hand, see OCR vs manual data entry.
Two practical notes. First, OCR on German documents needs to understand German, including umlauts and the special characters on invoices, so check that your tool is set to the right language. Second, OCR is never one hundred percent perfect on faded thermal receipts or handwriting, but for printed documents it is reliably good, and a tool that lets you fix the rare mistake in one click closes the gap.
Step 5: Name it and file it so search always wins
Even with OCR, a little structure pays off. A consistent filename like 2026-06-14_Vodafone_Vertrag.pdf (date, sender, type) sorts chronologically on its own and tells you what a file is before you open it.
But do not over-engineer the folders. The point of OCR and full-text search is that you no longer need a perfect folder tree, you need findable content. A flat structure plus good search beats a fifteen-level folder hierarchy nobody maintains. For the folders-versus-tags-versus-search trade-off, see the best way to organize digital documents.
Common mistakes
- Scanning without OCR. The single biggest one. You end up with digital paper you still cannot search. Always confirm the text layer is there: try selecting a word in the finished PDF.
- Saving as JPG. Loses multi-page grouping and the text layer. Export PDF.
- Chasing perfect scans. 600 dpi, color-corrected, deskewed by hand. For a receipt, a clean phone shot in daylight is done. Perfect is the enemy of filed.
- One giant PDF of everything. A 200-page "Scans 2026.pdf" is unsearchable in practice. One document per file.
- Filing, then forgetting the originals. For tax-relevant documents in Germany there are rules about what you may discard. Worth a five-minute read before you bin anything, covered in the retention guide linked below.
How Paperarchive fits in
Paperarchive collapses these five steps into one. You photograph or upload a document, and it runs OCR automatically, pulls out the date, sender and amount, tags the document, and makes the full text searchable, on German servers. The recognition is wrong maybe ten percent of the time and you correct it in a single click. If you would rather skip the manual scan-and-name routine entirely, that is the whole idea behind digitizing your documents with Paperarchive.
Next steps
Once your documents are searchable, the next questions are usually about keeping the system tidy and staying on the right side of the rules:
- How to set up a document management system in 2026
- OCR vs manual data entry: which saves more time
- How to go paperless at home
Try Paperarchive for free and let scanning, OCR, and search happen in one step instead of five.
Related Articles
How to Set Up a Document Management System in 2026
Stop drowning in paperwork. Learn how to set up a paperless office step-by-step with AI document categorization - perfect for freelancers and busy families.
OCR vs Manual Data Entry: Which Saves More Time?
Compare OCR technology and manual data entry to discover which method saves more time and reduces errors in document processing.
How to Go Paperless at Home: A Step-by-Step Guide
A practical guide to setting up a paperless home - from your first scan to a fully searchable digital archive.